How to Use Cinemachine to Create Stunning Camera Shots
27 January 2026
Let’s face it—game visuals are everything nowadays. When you're building a game, it's not just about mechanics anymore. You need to show your world off in the most epic way possible. That’s where Cinemachine comes in. It’s Unity’s secret weapon that lets you create jaw-dropping, cinematic camera shots with almost zero code. Sounds cool, right?
Well, buckle up, because in this guide, I’ll walk you through how to use Cinemachine like a pro. Whether you're building a simple indie game or dreaming of the next viral hit, this powerful tool can take your camera work from "meh" to masterpiece. And the best part? It's actually a ton of fun to use.
What Is Cinemachine in Unity?
Okay, first things first—what is this Cinemachine thing everyone keeps raving about?Cinemachine is a suite of smart camera tools built directly into Unity. Think of it as having an in-game director that knows the best shot to take at the perfect time. It allows you to create complex, movie-like camera behaviors without writing long scripts. You can tweak focus, follow targets, combine shots, and even simulate real-world camera rigs—all visually, thanks to Unity’s interface.
And you know what? Even if you're not a filmmaker or a camera geek, Cinemachine makes you feel like one. You're in control of the lens, the dolly, the crane—all the fancy stuff they use in Hollywood films. So yeah, it’s kind of a big deal.
Why Use Cinemachine for Your Games?
There are a ton of reasons to use Cinemachine, but let’s break it down into what really matters for you as a game developer:- No Code? No Problem: Most camera behavior can be created with simple drag-and-drop configuration.
- Smooth Transitions: No more clunky cuts between cameras—Cinemachine nails those buttery-smooth blends.
- Dynamic Tracking: Follow your player like a pro without it feeling stiff or robotic.
- Cinematic Storytelling: Want to add dramatic cutscenes? Cinemachine + Timeline = movie magic.
In short, it helps you tell your story better. That's why it's worth learning.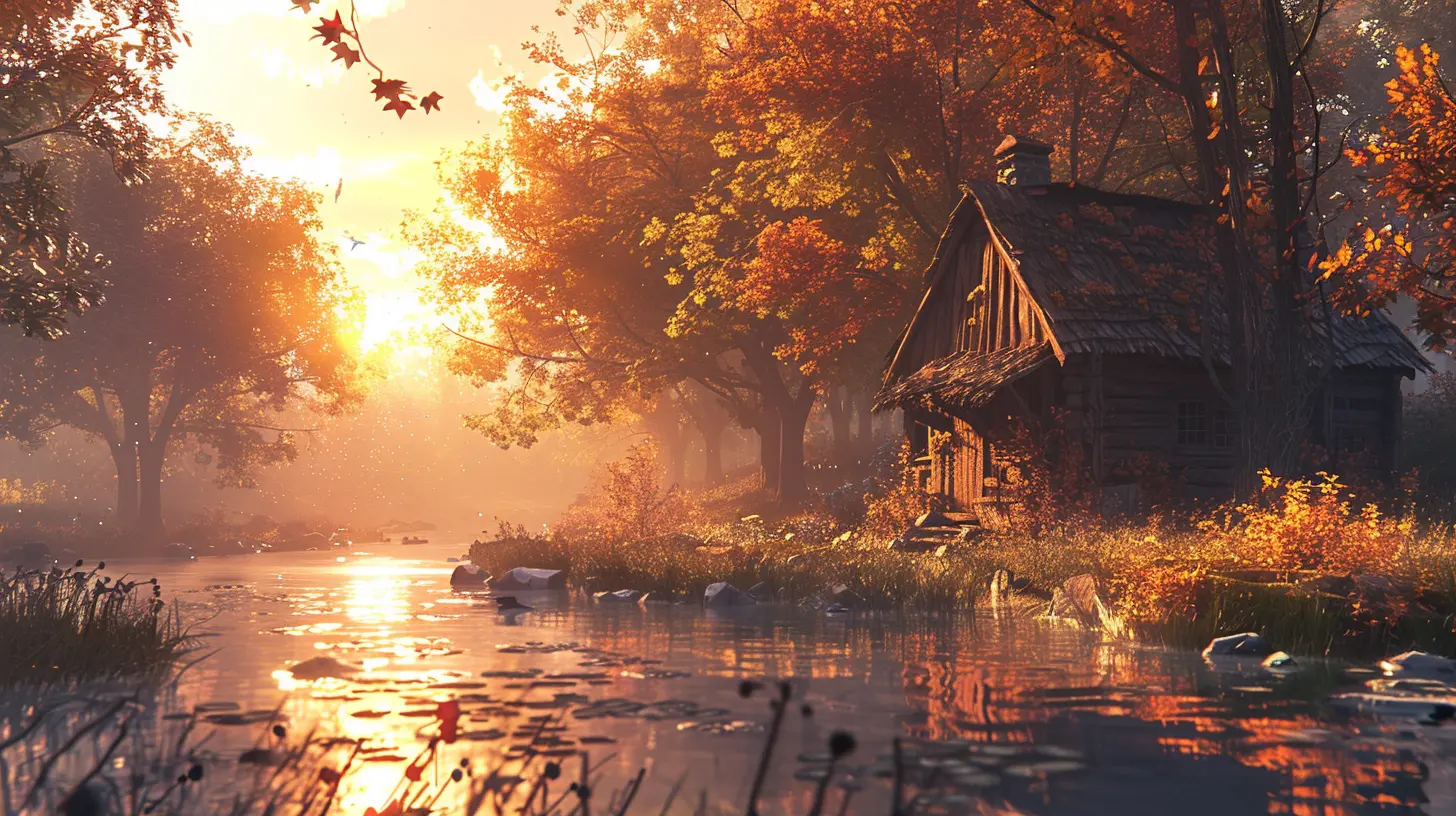
Getting Started: Installing and Setting Up Cinemachine
Before the magic happens, let’s get Cinemachine into your project. Don’t worry—it’s a breeze.1. Open Unity and jump into your project.
2. Go to `Window > Package Manager`.
3. In the Package Manager, search for Cinemachine.
4. Click Install. That’s it!
Once installed, you’ll see a new Cinemachine menu in Unity. You're ready to rock.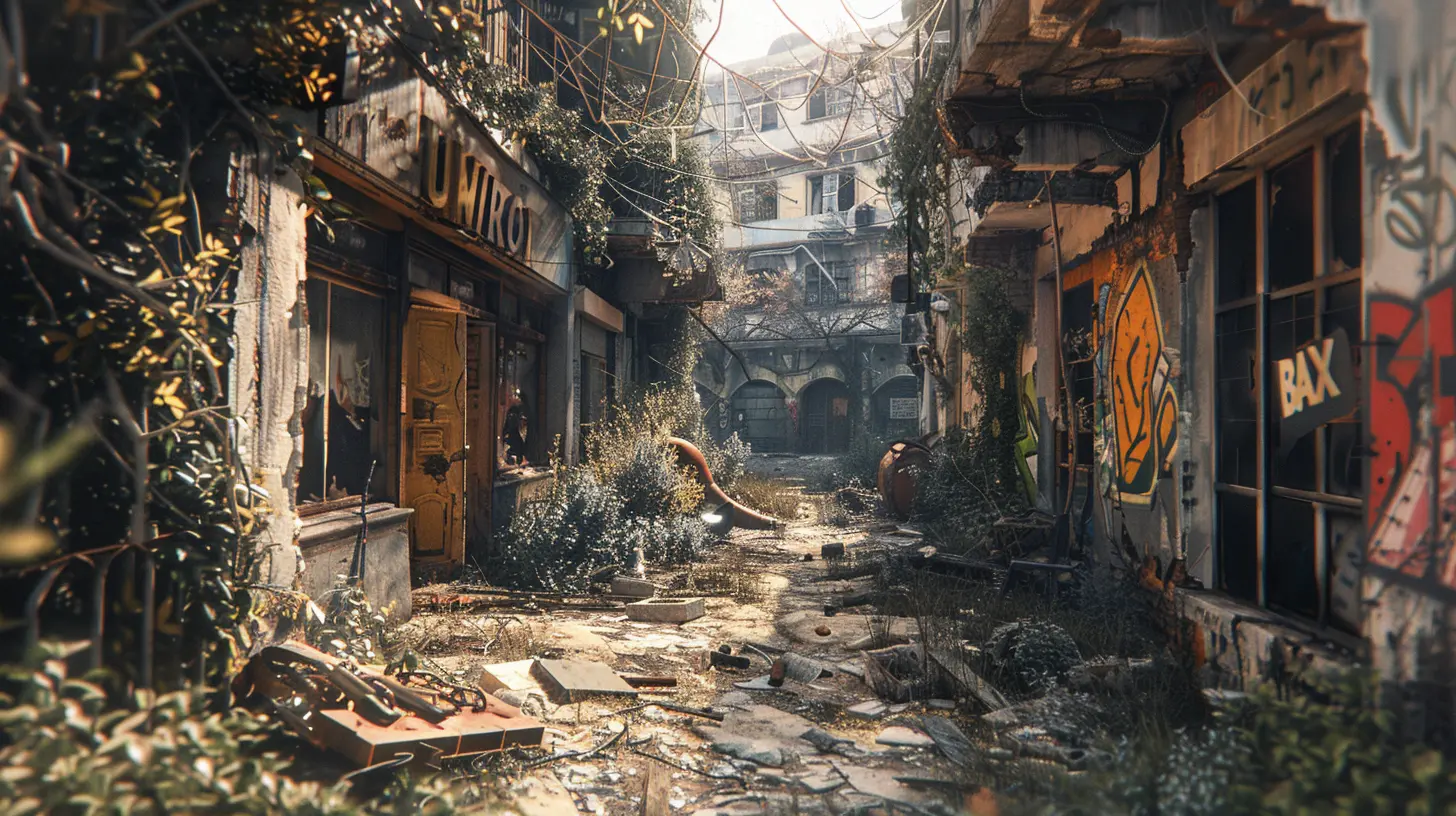
Meet the Virtual Camera (vCam)
Ah, the mighty Virtual Camera—this is where the real fun begins.Virtual Cameras (vCams) are at the heart of Cinemachine. When you create one, you’re not actually creating a physical camera. Instead, you're setting up shot instructions for Unity’s main camera to follow.
How to Create a vCam:
1. Go to `Cinemachine > Create Virtual Camera`.2. Boom—you’ll see a new vCam in your hierarchy.
3. Select it and notice all the crazy controls in the Inspector: Look At, Follow, Lens Settings, and more.
Here’s where the magic sauce is. You can set the vCam to follow or look at specific targets (like your player), which is amazing for dynamic gameplay footage.
Setting Up a Simple Follow Camera
Let’s walk through a basic setup. Imagine you’ve got a player character that runs around the level. You want the camera to follow them smoothly, right?Step-by-Step Follow Camera:
- Select your vCam.- Under the Follow field, drag in your player GameObject.
- Adjust the settings under Body > Transposer:
- Set the Follow Offset to something like `(0, 5, -10)` for that classic over-the-shoulder view.
- Set Binding Mode to World Space or Lock to Target with World Up (whichever fits your use case).
And just like that, you’ve got a smart, smooth follow camera.
Want it smoother? Increase the damping values—it’s like adding butter to your pans. Want it snappier? Turn damping down. Easy.
Adding Look At Functionality
Tracking the player is great, but what about looking at them?Under the Look At field in your vCam, drag in the same player. Then, under the Aim section of the vCam’s settings, choose Composer.
Now you can define a screen area where the target should stay—like keeping the player slightly off-center, which is a sweet cinematic trick.
Camera Transitions That Feel Like Film
Here comes the really cool part—switching between cameras.Let’s say you have several vCams for different areas or angles. Maybe one for over-the-shoulder gameplay, another for a dramatic zoom when the player enters a boss room.
Cinemachine handles transitions between them like a director calling for a change in shots on set.
How to Do It:
- Create multiple vCams.- Assign different Priorities—Cinemachine always picks the highest one.
- When you want to switch, just boost one camera’s priority over the others.
That’s it. Cinemachine blends them automatically using smooth transitions. It’s like fade-ins and outs, without having to touch a single keyframe.
Want more control? You can use Unity’s Timeline with Cinemachine tracks to choreograph these changes exactly when you want.
Cinemachine and Timeline: A Match Made in Game Dev Heaven
Now we’re talking cutscenes. Want to show the boss coming down from the mountain? Or a slow pan as your character discovers a new world?Here’s how:
1. Create a new Timeline track.2. Add a Cinemachine track to it.
3. Drag in your vCams and align them on the timeline.
You can control how the cameras blend, how long they last, and even trigger animations all in sync. Suddenly, your game starts to feel like a movie.
And the best part? It's all visual. You don’t need to write one line of code.
Advanced Tips to Make Your Shots Pop
Alright, now that you’ve got the basics down, let’s level up. Here are some pro tips that’ll make your shots go from "eh" to "epic":1. Use Dolly Tracks for Dynamic Movement
Create a Cinemachine Dolly Track, then attach a Dolly Cart to it. You can link a vCam to the cart for controllable, track-style movement—perfect for chase scenes or narrative intros.2. Add Screen Shake with Impulse
Need that extra oomph during explosions or hits? Cinemachine has Impulse features. Add an Impulse Source to your explosion prefab, and an Impulse Listener to the camera. When triggered, it shakes the screen just enough to feel real.3. Pull Focus with Depth of Field
Want that artsy blur in the background? Use Post-Processing together with Cinemachine. You can control Depth of Field to pull the focus on certain objects and blur everything else, just like a DSLR camera.4. Blend Cameras with Style
Use the Cinemachine Brain component on the main camera to customize blend styles—ease in, ease out, even custom curves.Common Mistakes to Avoid
Let’s save you a few headaches. Here are things beginners often mess up:- Forgetting the Main Camera Needs a Brain: Always make sure your Main Camera has the Cinemachine Brain component to process vCam instructions.
- Not Setting Camera Priorities: If your cameras aren’t switching, it’s probably a priority issue.
- Neglecting Damping Settings: Abrupt movements can break immersion. Use damping to smooth things out.
Real-World Uses of Cinemachine in Games
Still not convinced? Tons of big-name indie developers use Cinemachine for storytelling, trailers, cutscenes, and gameplay cameras.From 2D platformers with dramatic pans to 3D adventure games with sweeping vistas, Cinemachine adapts to every style. It’s basically your in-game cinematographer, always on standby.
Final Thoughts: Creativity Without Limits
Cinemachine breaks down the barriers between gameplay and storytelling. You don’t need a film degree or a background in cinematography. What you need is vision—and Cinemachine gives you the tools to make that vision come alive.So go ahead—play around, experiment with shots, mix it up. Your camera is now more than just a viewer—it’s a storyteller.
And trust me, once you get the hang of it, you'll wonder how you ever designed games without it.
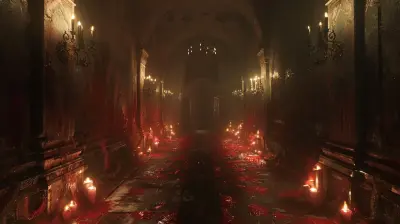
all images in this post were generated using AI tools
Category:
Unity GamesAuthor:

Tayla Warner
Discussion
rate this article
2 comments
Piper West
Great article! Cinemachine brings so much creativity to game design. Dive in, experiment, and let your imagination run wild—your players will love the stunning shots you create. Happy gaming and filming! 🎮📸
February 3, 2026 at 5:20 AM
Tayla Warner
Thank you! I’m glad you enjoyed the article. Happy filming and creating! 🎮📸
Molly McLoughlin
Unlock your creative potential with Cinemachine! Embrace the art of storytelling through stunning camera shots. Every frame you craft brings your game to life, captivating players and enhancing their experience. Dive in and let your imagination soar! Happy gaming!
January 31, 2026 at 6:08 AM
Tayla Warner
Thank you! I completely agree—Cinemachine truly enhances storytelling in games, allowing us to create immersive experiences that engage players like never before. Happy creating!