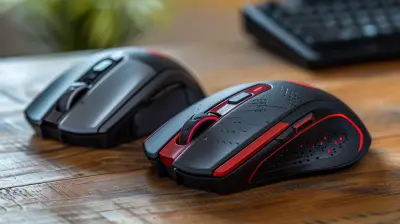
How to Properly Maintain and Clean Your Gaming Mouse
24 June 2026
Let’s be real for a second—your gaming mouse, that trusty sidekick that’s been with you through countless headshots and epic boss battles, probably isn’t in the best shape. It might look fine on the outside, but chances are, it's hiding a disgusting secret: dirt, gunk, and grime hiding in its cracks, slowing down your reactions and messing with your aim.
Yeah, gross, right?
Whether you're rocking a high-end gaming mouse or a budget one, regular maintenance is key to keeping it responsive, long-lasting, and—let’s be honest—pleasant to use. Think of it like oiling a sword in a fantasy game; if you want it to perform at its best, you've gotta take care of it.
In this guide, we’ll break things down step by step—nothing complicated, no techy jargon—just honest, straightforward advice on how to properly maintain and clean your gaming mouse.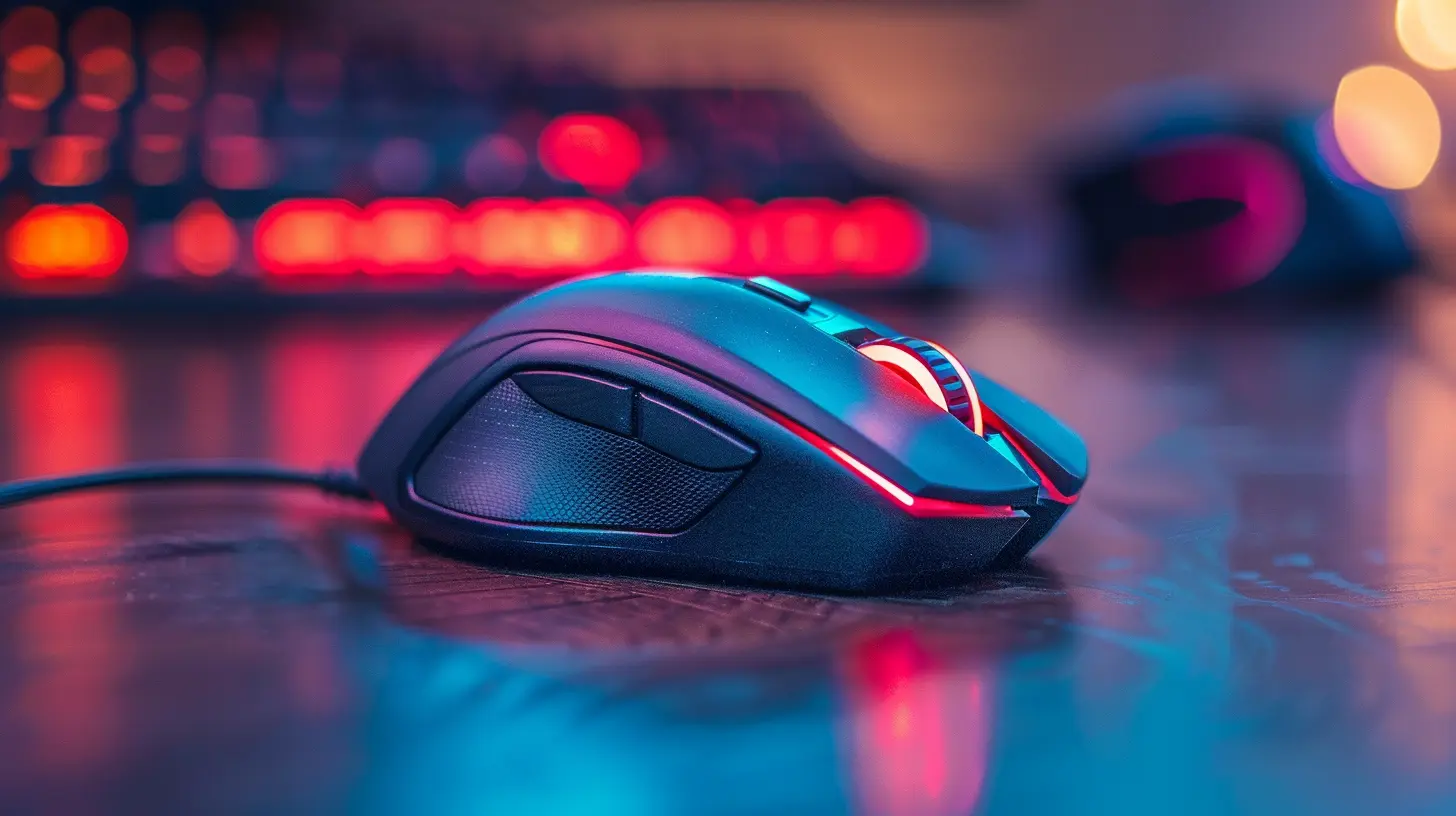
Why Clean Your Gaming Mouse in the First Place?
So, why bother? Can’t you just use it until it dies and buy a new one?Well, sure, you could... but here’s the thing:
- Performance degrades over time: Dust and debris interfere with the sensor and buttons.
- It gets gross: Sweat, dead skin, snacks (we all eat while gaming), and oils build up over time.
- It can cause misclicks: Buttons might stick or become less responsive.
- Reduces lifespan: Long-term neglect can shorten the life of your mouse.
- It’s just nasty: Let's face it, who wants to touch something that's basically a germ fiesta?
Treat your gaming mouse the way you’d treat your keyboard, monitor, or even your gaming chair—if it’s part of your setup, give it the upkeep it deserves.
Understanding the Parts of a Gaming Mouse
Before we jump into cleaning, let’s get familiar with what we’re dealing with. Here are the main parts of your mouse that need TLC:- Buttons and Scroll Wheel – These are high-contact areas and get gunky fast.
- Sensor – The eye of your mouse that tracks movement. Needs to be spotless.
- Mouse Feet (Glide Pads) – Dirty feet = jittery movement.
- Surface/Casing – Touchpoint for your hand. It absorbs sweat and oil.
- Cable or Wireless Receiver – Often overlooked, but dirt can affect connectivity over time.
Knowing these parts helps you understand what to clean, and more importantly, how to clean them properly.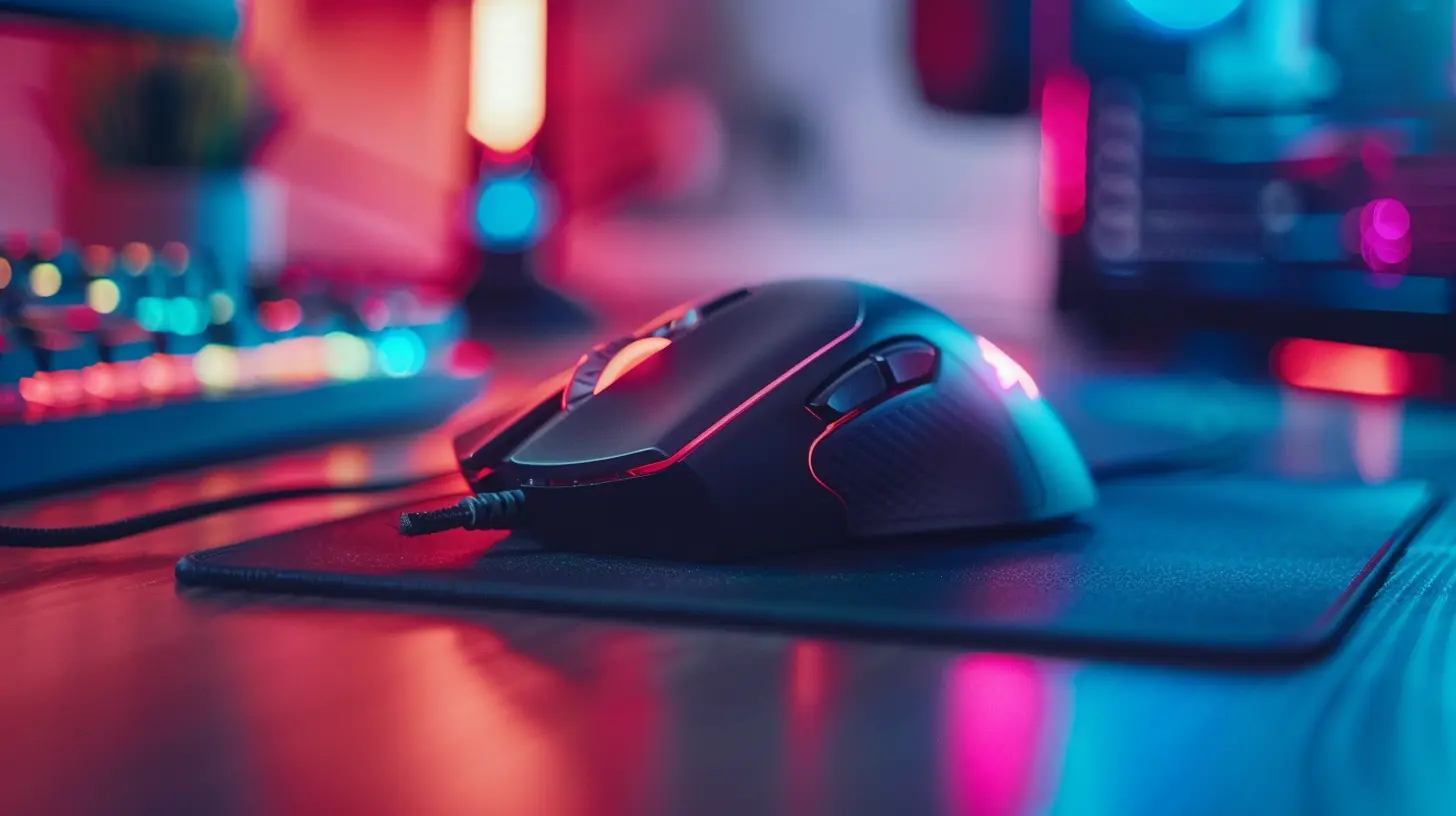
Supplies You’ll Need
Good news: You don’t need a fancy cleaning kit. Most of this stuff is already lying around your house.Here’s your cleaning loadout:
- Microfiber cloth
- Cotton swabs (Q-tips)
- Isopropyl alcohol (at least 70%)
- Toothpick or soft brush
- Compressed air (optional but awesome)
- Mild dish soap (for deep cleans)
- Warm water
- Lint-free towel or paper towels
Pro tip: Don’t use harsh cleaners like bleach or window spray. They can damage the mouse surface or mess with internal components.
Step-by-Step: How to Clean Your Gaming Mouse Properly
Let’s get into the nitty-gritty.Step 1: Unplug the Mouse
Sounds obvious, but you’d be surprised how many people forget this step. Whether it’s wired or wireless, disconnect it completely. If it has batteries, take them out.Step 2: Start With a Dry Wipe Down
Use a microfiber cloth to remove surface dirt and oily residues. Give it a quick but thorough wipe from top to bottom.Not going to lie, just doing this step will already make your mouse look 10x better.
Step 3: Clean the Crevices
Now here’s where the magic happens.Take a toothpick or a soft brush and start gently removing gunk from:
- Button edges
- Scroll wheel
- Creases along the mouse sides
- DPI switch or extra buttons (if your mouse has them)
Use short, controlled strokes. You’re not trying to gouge it out—think of it like brushing crumbs out of your keyboard.
Step 4: Hit It With Compressed Air
If you’ve got it, give your mouse a few short bursts of compressed air to clear out dust and debris hiding in harder-to-reach areas.Aim near the scroll wheel and sensor – you’ll be amazed by what flies out.
Step 5: Wipe With Isopropyl Alcohol
Dampen (not drench!) a cotton swab or microfiber cloth with isopropyl alcohol. This helps disinfect and remove oily buildup.Focus on:
- Mouse buttons
- Scroll wheel
- Top surface
- Side grips
Why alcohol? It evaporates quickly and doesn’t leave moisture behind—which electronics appreciate.
Avoid getting alcohol into the sensor or inside the mouse.
Step 6: Sensor Cleaning
The sensor is your mouse’s eyes. If it's dirty, your aim suffers. Use a dry cotton swab to gently clean the sensor lens.Do this slowly and carefully—don’t jab it.
Step 7: Clean the Glide Pads (Feet)
Flip your mouse over.You’ll see small pads on the underside. That’s what helps the mouse glide smoothly. If there's dirt around or under them, your mouse might feel jittery.
Use a cotton swab dipped in alcohol to gently clean the feet and the area around them.
If your mouse feet are badly worn out, consider replacing them. Some brands even sell replacement feet for cheap.
Step 8: Optional Deep Clean – Soap and Water
If your mouse has removable outer parts (some modular mice do), or it’s just insanely filthy, you can wash the plastic parts (not electronics!) with warm water and a drop of dish soap.Rinse, dry thoroughly, and only reassemble when everything is 100% dry.
Regular Maintenance Tips to Keep It Clean
Cleaning it once is great. But you know what’s better? Keeping it clean so you don’t have to repeat this every week.Here are some simple habits to adopt:
1. Wash Your Hands Before Gaming
Laugh all you want, but clean hands mean a cleaner mouse. Oil and food residue are the main culprits behind gunk buildup.2. Don’t Eat Over Your Mouse
Crumbs, grease, and spills can sneak into your mouse through the tiniest openings. Save the Doritos for loading screens, or better yet, eat away from your rig.3. Wipe It Weekly
A quick microfiber wipe once a week keeps grime at bay and only takes 30 seconds. Set a reminder, and thank yourself later.4. Keep It Off Dusty Surfaces
Got a dusty desk? Your mouse will suck it all up. Clean your gaming surface, use a mousepad, and keep your setup tidy.5. Store It Properly
Going on a break? Unplug it and store it in a clean, dust-free spot. If you’ve got pets or kids, this is even more crucial.When Should You Replace Your Mouse Instead of Cleaning It?
Let’s say you’ve cleaned and polished your mouse to perfection, but something still feels off.Here are some red flags that scream “Time for a new one”:
- Buttons double-click randomly
- Scroll wheel’s unresponsive
- Intermittent disconnection (wired or wireless)
- Sensor doesn’t track properly anymore
- The cable is frayed or broken
- It’s just uncomfortable or outdated for your current needs
Mice aren’t immortal. Even the best brands like Logitech, Razer, and SteelSeries have a lifespan. If cleaning doesn’t solve your problems, it might be time to upgrade.
Bonus: How to Clean Your Mousepad Too
You clean your mouse—don’t forget the pad it glides on!A dirty mousepad can throw off tracking and feel just as grimy.
Here’s a quick guide:
1. Cloth Mousepads: Use warm water, a bit of dish soap, and gently scrub it with a brush. Rinse well and air dry for 24–48 hours.
2. Hard Surface Pads: Easy—wipe with a damp cloth and a little alcohol.
Repeat monthly or whenever you notice build-up.
Final Thoughts
Cleaning your gaming mouse isn’t rocket science. But it is an easy way to improve your performance, your comfort, and your hygiene. It’s like sharpening a blade before battle—you wouldn’t go in with rusted gear, would you?With a bit of weekly attention and a deep clean every couple of months, your gaming mouse will stay sharp, precise, and grime-free. So go ahead, treat your mouse like the MVP of your setup—it totally deserves it.
And hey, your fingers will thank you too.
all images in this post were generated using AI tools
Category:
Gaming MiceAuthor:

Tayla Warner