What Every Unity Developer Should Know About Lighting
27 May 2026
Let’s talk about something that often gets brushed to the side while we chase after frame rates and perfect jump physics—lighting. Yep, that magical, invisible thing that can make your game go from “meh” to “whoa!” faster than you can say “real-time global illumination.”
If you’re working in Unity, lighting should be one of your best friends. It controls the mood, directs the player’s eye, and let’s be honest—it can make a basic cube look like an ancient, mystical artifact with the right spotlight.
Whether you’re a beginner who just figured out what a GameObject is, or a seasoned dev with more scripts than free time, there are a few important lighting concepts in Unity you just can’t ignore. So grab your favorite beverage, kick back, and let’s shed some light (pun absolutely intended) on what every Unity developer should know about lighting!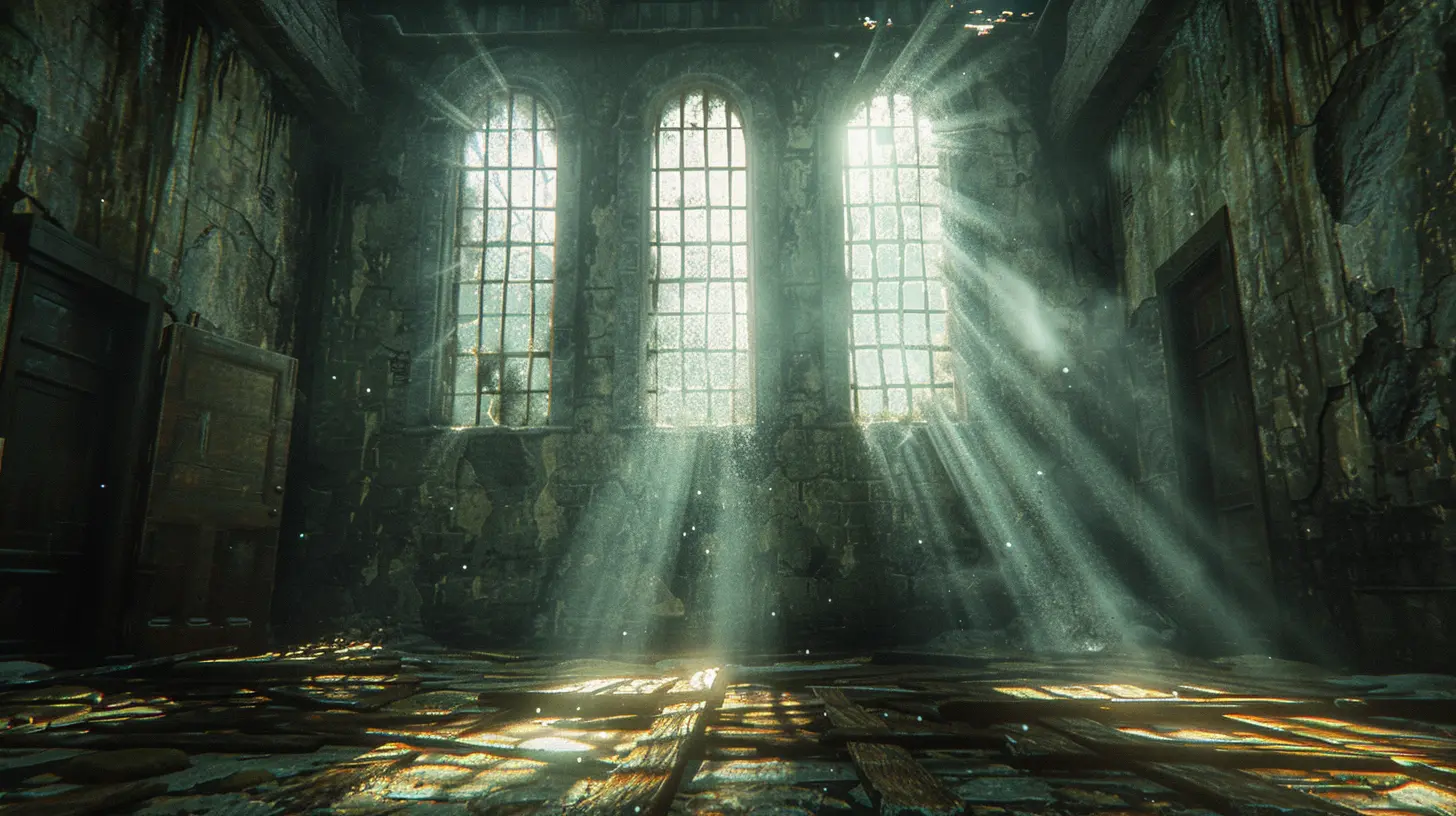
Why Lighting Matters More Than You Think
Lighting isn’t just about making your scene visible. It’s about storytelling. Think about your favorite video game cutscene. Bet the lighting played a huge part in how you felt during it, right? Light adds depth, emotion, tension—and yeah, it even saves your butt when enemies are hiding in the shadows.Imagine a horror game with flat lighting. Not very scary, right? Or a cozy village in an RPG drowned in blinding white light. Kinda ruins the vibe. Lighting sets the tone. Ignore it, and your otherwise stellar game starts to feel lifeless. Respect it, and you’re halfway to player immersion.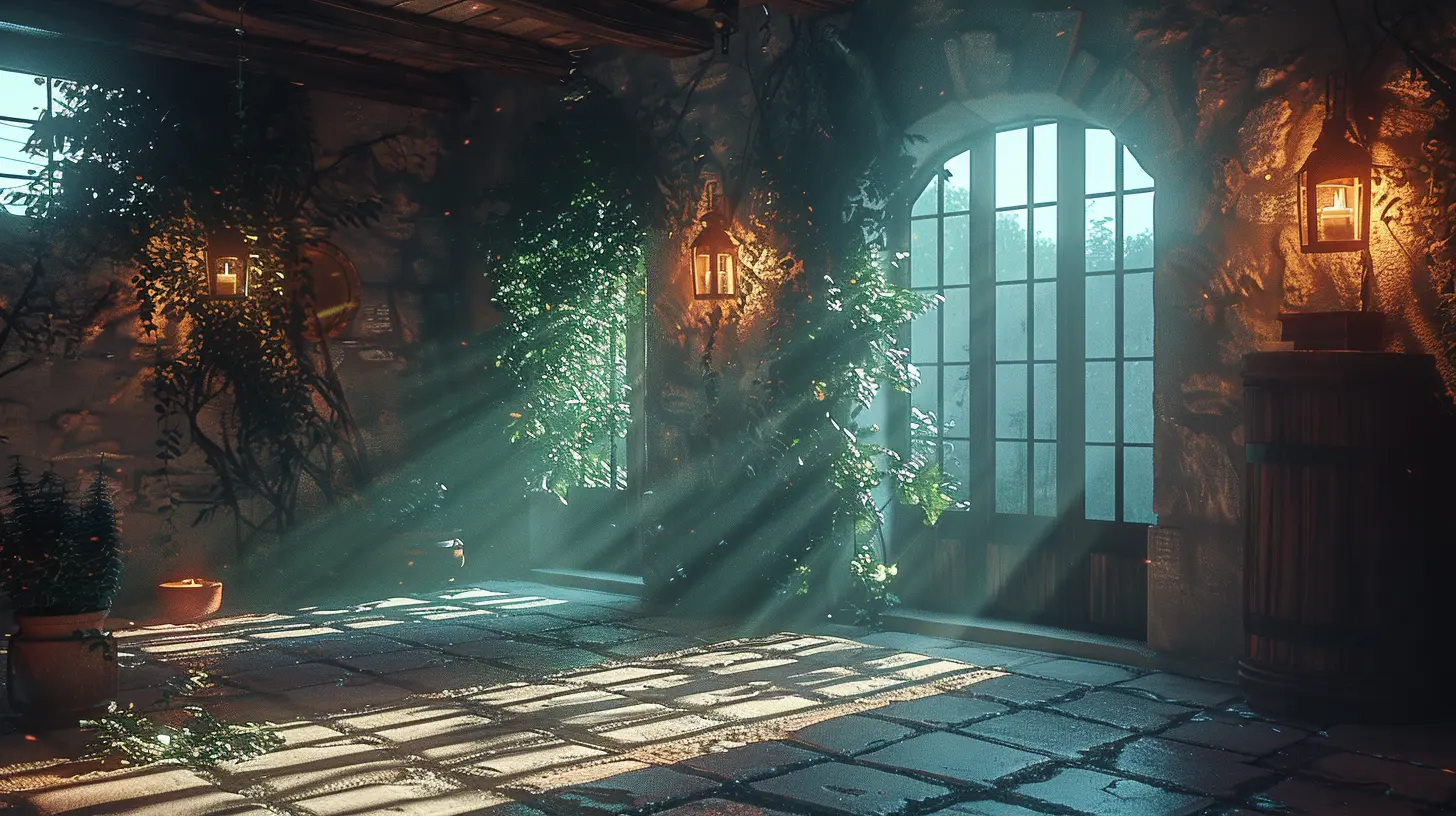
Real-Time vs. Baked Lighting – What’s the Difference?
This is the first fork in the lighting road. You’ve probably seen these terms—real-time, baked (and maybe mixed)—and thought, “Do I actually need to worry about this right now?” Yes. Yes, you do.? Real-Time Lighting
Real-time lighting is like your always-on spotlight. It reacts instantly to changes. Move an object? The shadows move. Turn off a light? Boom, darkness. It’s perfect for dynamic situations—think of a flashlight in a horror game or headlights on a moving car.Pros:
- Interactive and responsive
- Great for moving objects
- Works well in open-world or fast-paced games
Cons:
- Performance-heavy
- Limited light sources unless you enjoy low frame rates
? Baked Lighting
Baked lighting is pre-calculated and saved during development. Think of it like baking a cake—you pop it in the oven (a.k.a the Unity Lightmapper), and when it’s done, it’s beautifully golden and ready to devour. Except, in this case, devour = run smoothly.Pros:
- Super performance-friendly
- Great for static environments like buildings or interiors
- Supports gorgeous lightmaps
Cons:
- Not dynamic (objects won’t cast or receive new shadows when they move)
- Requires bake time (go grab a coffee)
? Mixed Lighting
Mixed lighting gives you the best of both worlds. It mostly acts as baked lighting, but certain elements like shadows or highlights remain dynamic. It’s your Swiss Army knife—versatile, but a little tricky if you don’t read the manual.
Light Types in Unity – Know Your Tools
Unity gives you four main types of lights. Each of them brings something different to the party. Let’s break it down:☀️ Directional Light
Think of this as the sun. It shines in a specific direction and affects everything in the scene equally—no matter how far they are.Use it for: Outdoor scenes, daylight, or any scene lit by a strong distant light source.
? Point Light
This one's like a lightbulb. It emits light in all directions from a single point.Use it for: Rooms, lamps, torches, magical orbs (because every RPG needs at least one glowing orb).
? Spot Light
Now we’re talking flashlights and streetlamps. A spot light casts a cone-shaped light.Use it for: Focused beams, theater lights, or dramatic reveals (cue spooky music).
? Area Light
This only works with baked lighting and emits light from a rectangular area.Use it for: Large, soft light sources—especially in indoor setups like office lights or windows.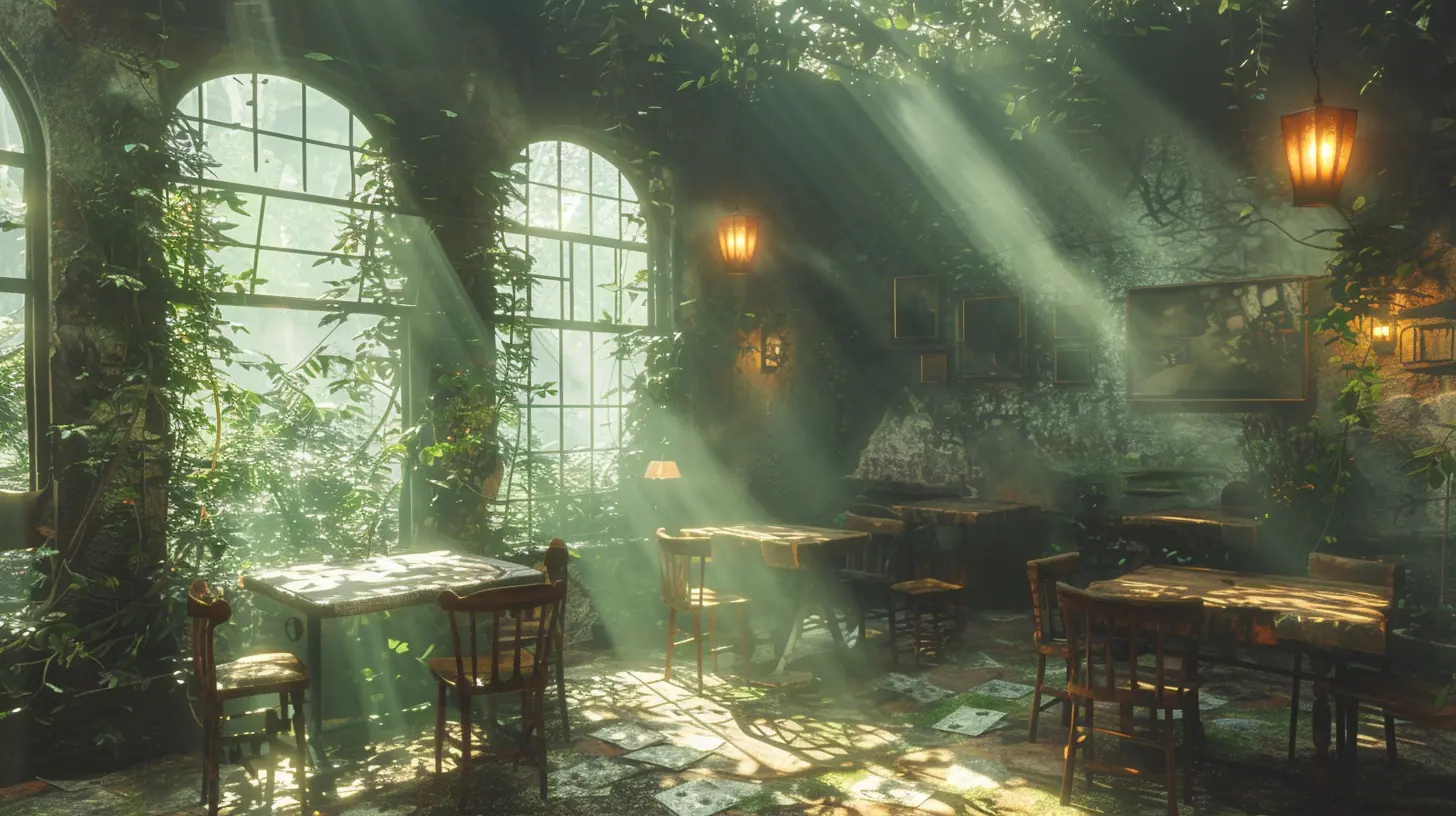
Lightmapping – Yes, You Should Care
Lightmapping is how Unity stores baked lighting info. Think of it as painting your light and shadow details directly onto your scene’s textures. It looks great and runs beautifully, especially on lower-end devices.When you bake lights, Unity generates these maps:
- Lightmaps: The baked lighting info
- Shadowmasks: Baked shadows for mixed lighting
- Directional Lightmaps: Help with normal maps and indirect lighting direction
If you’re developing for mobile or VR—get cozy with lightmaps. They'll be your best friend for performance and visual fidelity.
Global Illumination – The Secret Sauce
Global Illumination (or GI if we’re being cool about it) makes light bounce. So when light hits a wall, it softly reflects and lights up the nearby area. It’s what makes a sunset look warm or a dark corner gently lit.Unity offers two GI systems:
- Precomputed Realtime GI: Works with real-time lights and updates as needed (good for moderate changes)
- Baked GI: Used with baked lights and gives high performance and quality
GI adds realism, but it also adds processing. Use it wisely. It’s like seasoning—just enough makes your game tasty. Too much, and you overwhelm the player and the GPU.
Lighting Settings and Tips – The Good Stuff
Alright, let’s get down to some practical advice. These tricks might just save your sanity, and your game.1. Use Light Probes for Moving Objects
Baked lighting looks amazing, but your characters won’t get any of it if they’re dynamic. That’s where light probes come in. They capture light at various points in your scene and let dynamic objects blend in like they belong.2. Reflection Probes Are Not Just For Water
Reflection probes simulate how light bounces off surfaces. If you want shiny floors, mirrors, or even chrome armor, slap in a reflection probe. It’s like giving your scene a set of eyes to reflect the world.3. Avoid Too Many Real-Time Lights
Real-time lights = performance hogs. Limit how many you use, and keep them small and meaningful. A few well-placed spotlights can do way more than a dozen random point lights.4. Adjust Shadow Quality
Shadows are a big deal. They add depth, realism, and drama. But quality shadows can hit performance like a truck. Tweak shadow resolution, distance, and cascades to fit your platform.5. Embrace Post-Processing
Lighting doesn’t stop at lights. Post-processing effects like bloom, color grading, and ambient occlusion can tie it all together. Just don’t go overboard or your scene could start looking like the inside of a disco ball.Day/Night Cycles – Go Full Sky Wizard
Thinking of making an open-world game or survival sim? A dynamic day and night cycle is your jam. You can rotate a directional light for the sun, animate skybox exposure, and change ambient light over time. It's like being a lighting conductor, bringing your world to life hour by hour.Bonus points if you tie in enemy behavior or events that only happen at certain times!
The Shader Factor
Lighting and shaders go hand-in-hand. Unity’s Standard Shader does a good job, but if you're feeling fancy, dive into custom shaders using Shader Graph or even good ol’ HLSL.With custom shaders, you can simulate glow, fake shadows, or even create stylized looks like toon shading or pixel art lighting.
Don’t be afraid to experiment—lighting + shaders = visual magic.
Common Lighting Pitfalls to Avoid
Let’s save you some pain, shall we?- Too many real-time lights – Your GPU cries. Optimize them.
- No fallback lighting – Always have ambient light, or scenes will look pitch black.
- Ignoring light probes – Dynamic objects will look out of place.
- Overusing bloom – It’s called bloom, not flashlight-in-your-eyes simulator.
- Wrong lighting scale – Light falls off with distance. Keep your scene scale realistic.
Final Thoughts – Let There Be Light (Properly)
Lighting in Unity is both an art and a science. It's not just about making things visible—it’s about painting your world in emotion, clarity, and immersion. You don’t have to be a lighting genius overnight, but understanding the basics and applying them wisely will make your game stand out.So go ahead, light up your world. Make that creepy hallway truly terrifying. Let your fantasy kingdom bask under golden sunlight. Own the darkness, embrace the bloom, and give your players a visual experience they won’t forget.
Happy lighting, devs. May your shadows always be crispy.
all images in this post were generated using AI tools
Category:
Unity GamesAuthor:

Tayla Warner
Discussion
rate this article
1 comments
Olivia Hughes
Lighting can transform a game; mastering it is essential.
June 6, 2026 at 3:16 AM