Building VR Experiences Using Unity
17 October 2025
Virtual Reality has blown the doors wide open on how we experience digital worlds. Whether you're slicing fruit mid-air, stepping into a sci-fi battlezone, or exploring the mysteries of the deep sea—all from your living room—VR takes immersion to a whole new level. And if you're a budding developer or a game dev looking to dip your toes into VR, Unity is one of the best tools to start with.
In this guide, we’re diving headfirst into building VR experiences using Unity—what it takes, how to get started, and all the juicy details in between. No complex jargon, no boring textbook talk—just real talk, straight from one dev to another.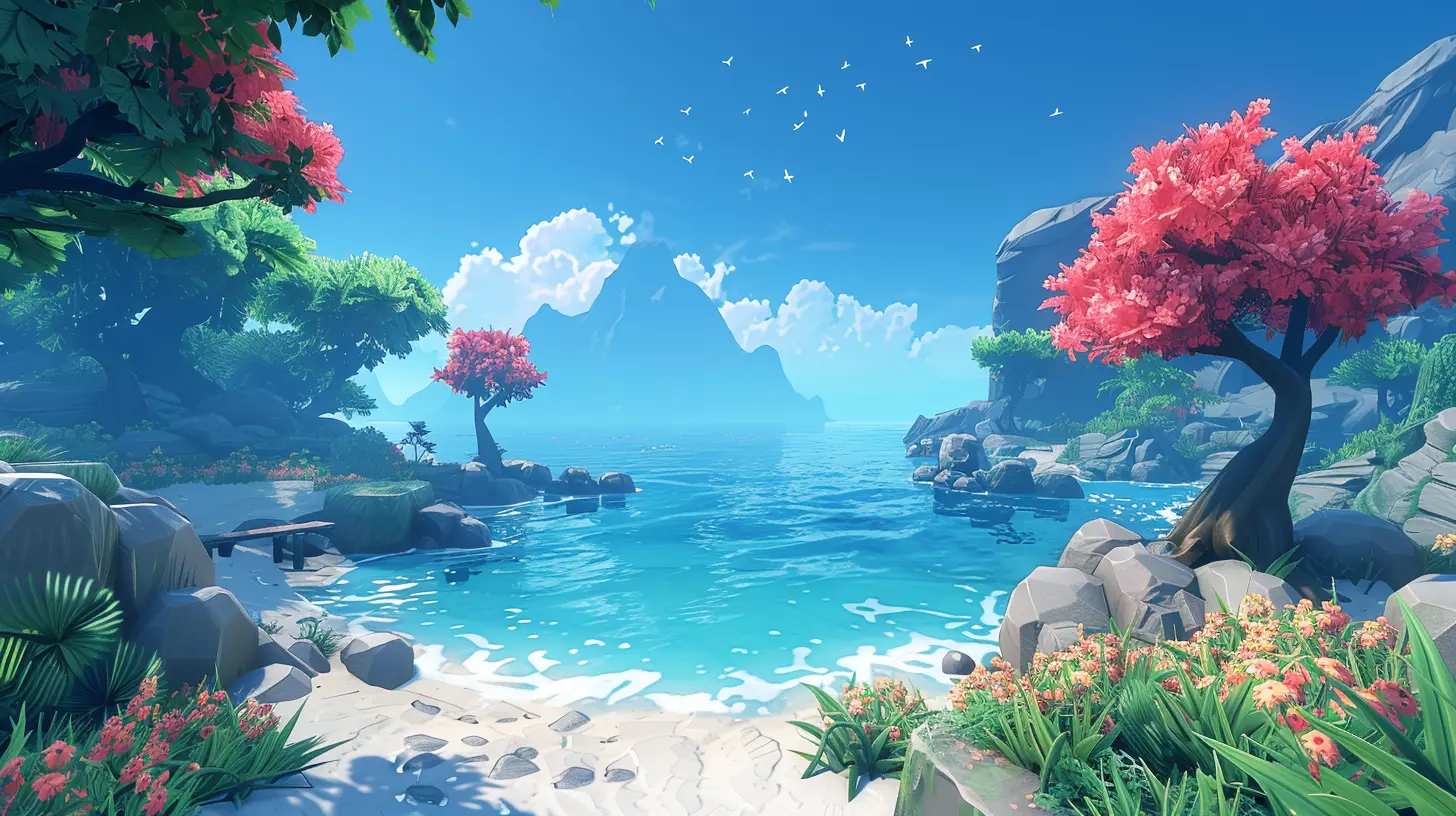
Why Unity for VR?
So, why Unity? Well, it’s like asking why people choose pizza—it’s accessible, customizable, and satisfies pretty much everyone. Unity is widely known for its user-friendly interface, powerful features, and vibrant dev community. But here’s what makes it so VR-friendly:- Cross-Platform Support: Whether you’re into Oculus, HTC Vive, or even PlayStation VR, Unity’s got your back.
- Asset Store: Need a 3D model or a pre-made script? Unity’s Asset Store is like a treasure chest for developers.
- XR Plugin Management: Unity makes it easy to switch between VR and AR platforms, kind of like flipping a light switch.
Unity offers both flexibility and power, making it perfect for indie devs and AAA studios alike.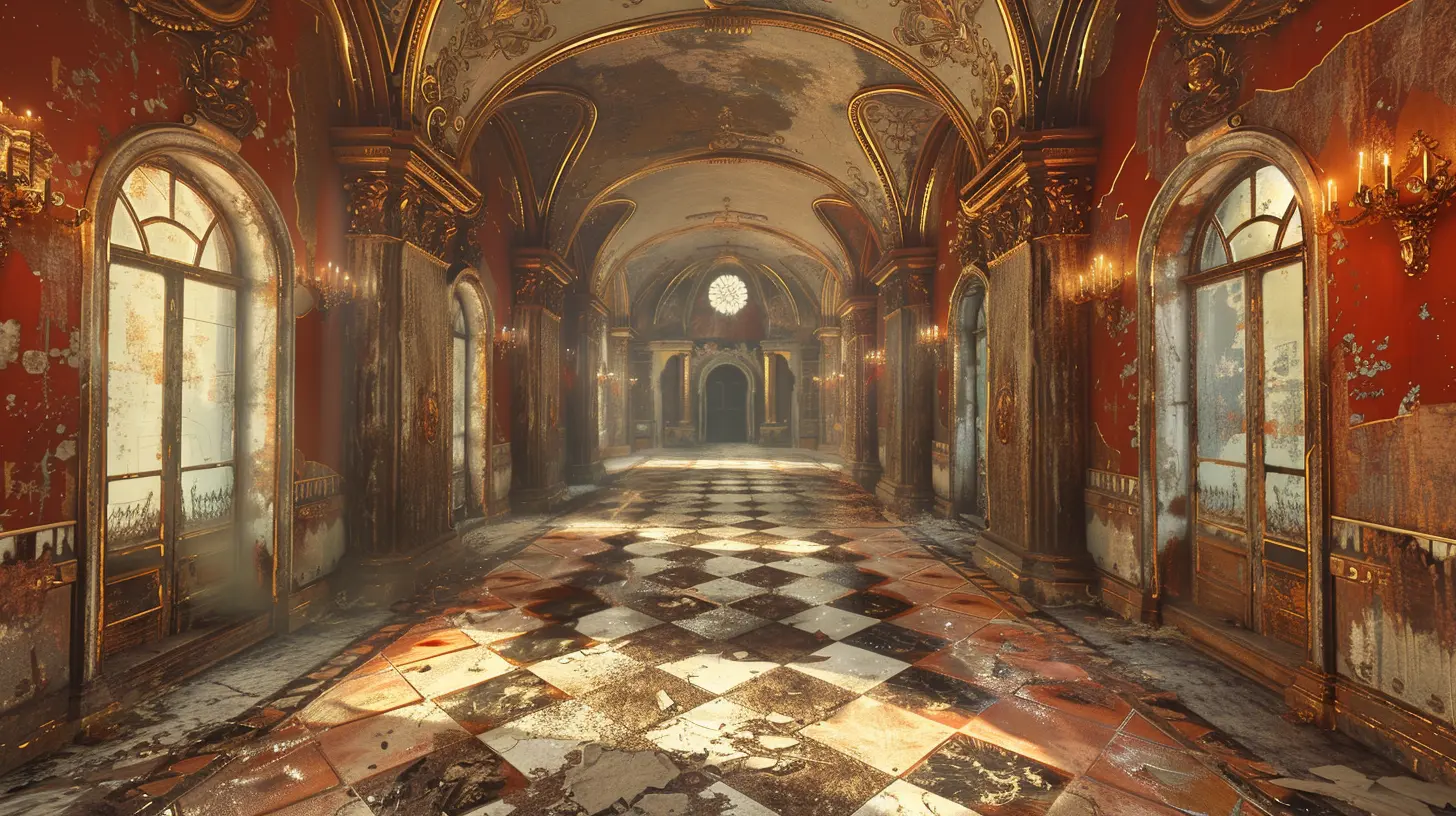
Step 1: Setting the Stage – Your Development Environment
Alright, before we start building worlds, we need a solid foundation. It’s like prepping your kitchen before cooking—have all your ingredients and tools ready.Install Unity Hub & Unity Editor
First things first, download and install Unity Hub if you haven’t already. From there, install the latest LTS (Long-Term Support) version of Unity. Make sure to check the box for XR Plugin Management, Android Build Support, or any specific VR SDKs you plan on using.Recommended Tools & Hardware
- VR Headset: Oculus Quest 2 is a good starting point—affordable and easy to use.- PC with a Decent GPU: VR can be hardware demanding. Aim for at least a GTX 1060 or equivalent.
- Unity XR Interaction Toolkit: Helps you interact with the virtual environment using VR controllers with minimal scripting.
Once everything’s installed and set up, you’re ready to rock.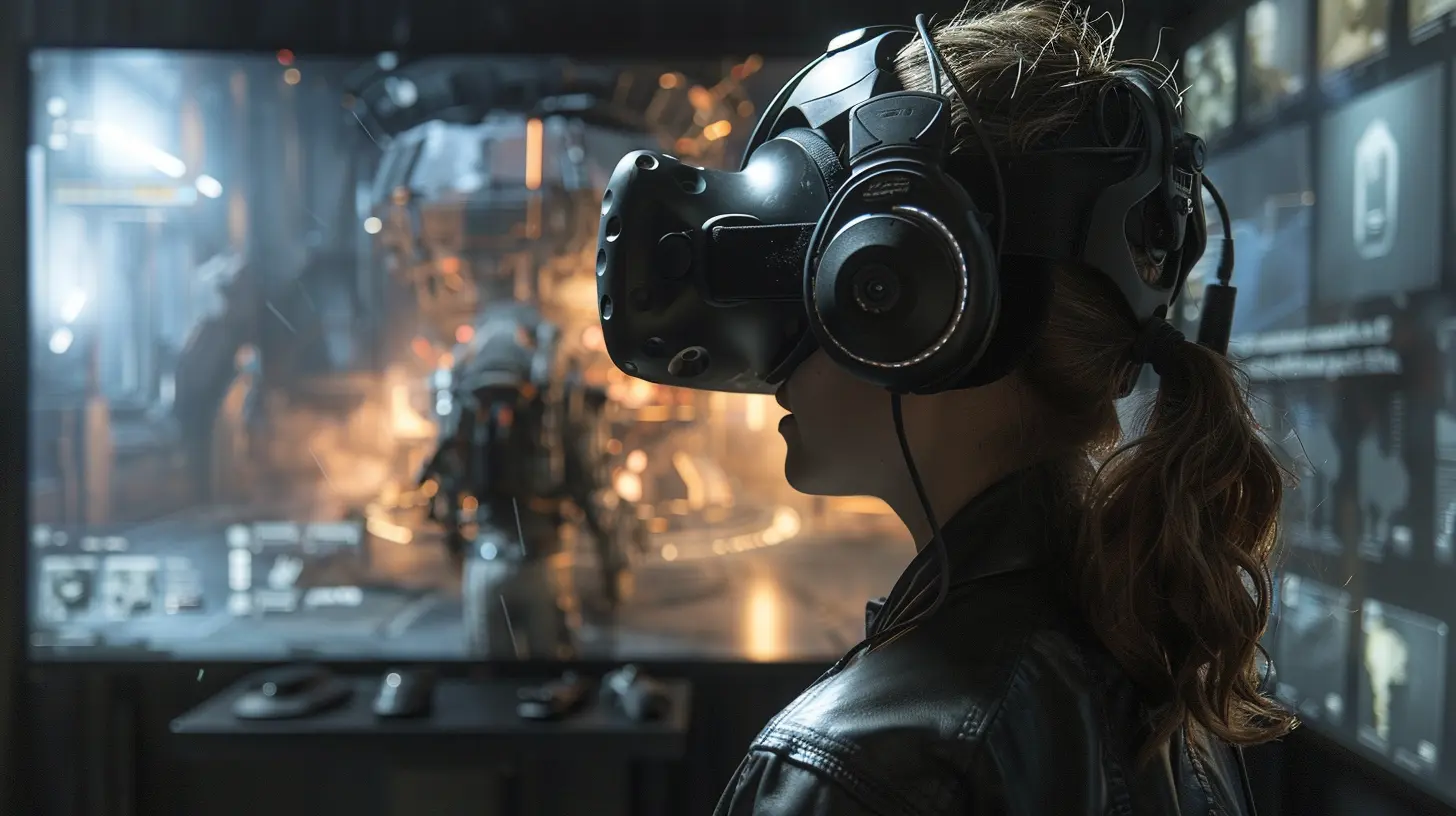
Step 2: Creating Your First VR Project in Unity
Think of Unity like a sandbox—it gives you all the tools and toys to build your dream world.Start a New Unity Project
Open Unity Hub, click on “New Project,” and choose the 3D (URP or Built-in Render Pipeline) template. Name your project something like “MyVRAdventure” (you can be more creative, of course!) and hit create.Set Up XR Plugin Management
Now comes the magic sauce. Head to:> Edit → Project Settings → XR Plugin Management
Install XR Plugin Management and select the platform you’ll be deploying to (e.g., Oculus, OpenXR). For Oculus Quest 2, go to Android settings and enable Oculus as the plugin provider.
Configure Input and Interaction
Install Unity’s XR Interaction Toolkit from the Package Manager:1. Open Window → Package Manager
2. Search for “XR Interaction Toolkit”
3. Install it and restart the editor if needed
You’ll also want to import the Input System package. After that, enable it in your project settings (Unity will ask you to restart again).
Now, you can drag in basic XR components like VR Camera Rigs and Interaction Managers. It’s kind of like adding LEGO bricks to start forming your VR world.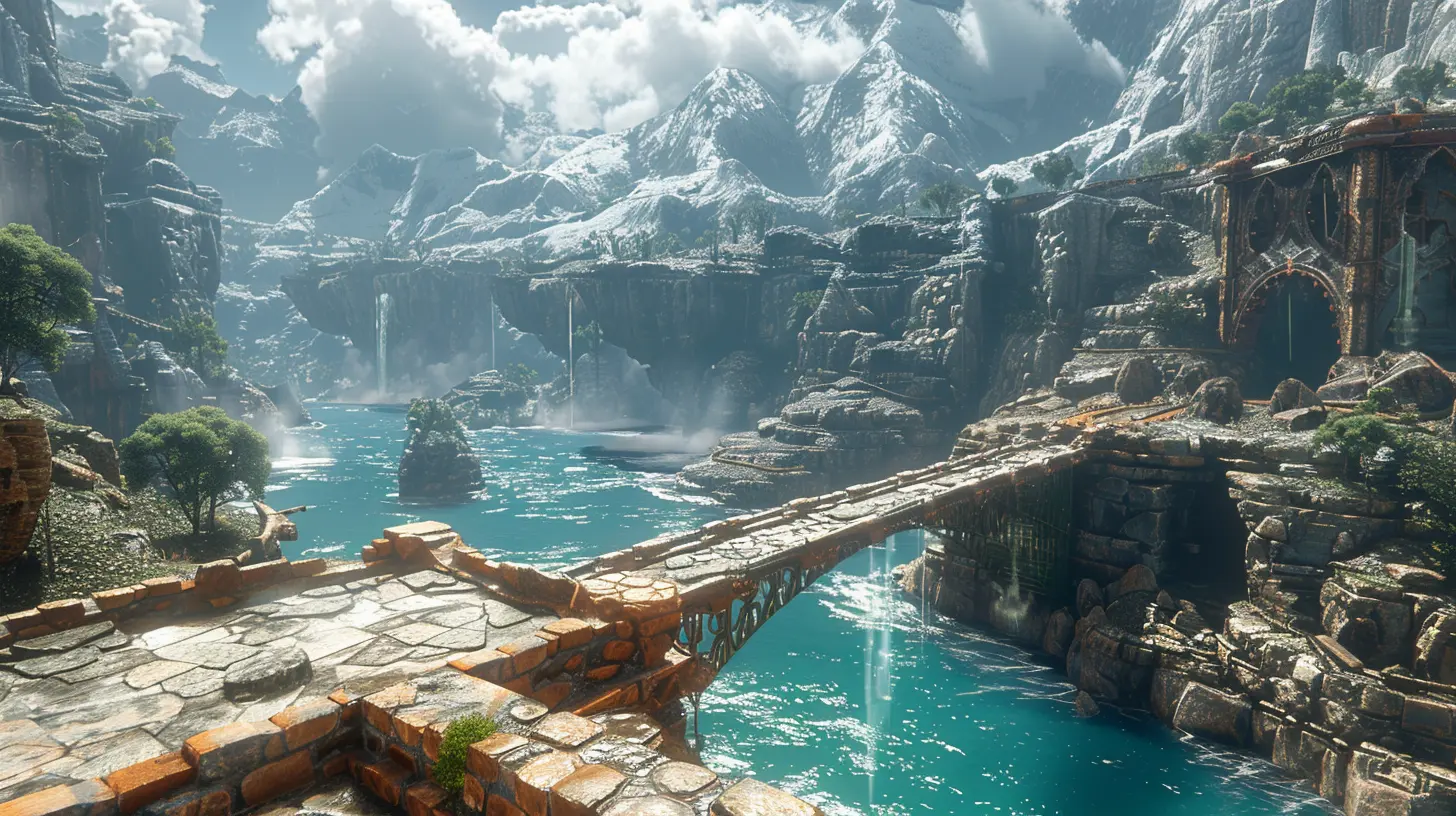
Step 3: Designing for VR – Think in 3D
Here’s where the fun begins—designing your virtual world. But hold up! Designing for VR isn’t the same as designing for a flat screen.Key VR Design Principles
- Comfort is King: Motion sickness is real, folks. Keep movement slow and natural. Teleportation and smooth locomotion both have their place—test to see what feels best.- Scale Matters: In VR, a 2x2 room actually feels like a real room. Double-check your object scales or you might end up in a house of giants.
- Interactive Elements: People love touching stuff in VR. Add grab mechanics, buttons, sliders—make it playful and intuitive.
- Minimal UI: Forget giant HUDs. Use world-space UI that players can physically interact with, like floating menus or wrist-mounted interfaces.
Think of building for VR as inviting someone into your home—you want them to feel welcome, oriented, and wowed.
Step 4: Adding Interactions and Physics
Let’s breathe life into your world. Interactions are what turn a VR experience from a boring tech demo into pure magic.Grab and Throw Objects
Using XR Interaction Toolkit, you can easily set up grab and throw capabilities:- Add the XR Grab Interactable component to an object.
- Attach a Rigidbody and Collider.
- Make sure the object is within reach of the controller’s XR Ray Interactor or Direct Interactor.
Boom! You’ve got a grabbable banana or throwable zombie head—whatever floats your boat.
UI In VR
Buttons in VR aren’t clicked—they’re poked, pressed, or hovered over. Unity’s interaction toolkit comes with examples like XR UI Canvas. Use world space canvases and hook them up with Unity Events.Haptic Feedback
Don’t underestimate the power of a little buzz. Trigger haptic feedback on interactions to make every press, grab, or collision feel more immersive.Step 5: Performance Optimization – Smooth Sailing
VR demands a buttery-smooth experience. Glitches, stutters, or frame drops? That’s a one-way ticket to motion sicknessville.Tips for Optimizing VR in Unity
- Bake Lighting: Real-time lighting eats up performance. Use baked lightmaps wherever possible.- Level of Detail (LOD): Replace far-away objects with simplified versions.
- Use Occlusion Culling: Unity can automatically hide unseen objects behind walls or terrain.
- Mobile VR Considerations: For platforms like Oculus Quest, reduce texture sizes, avoid post-processing, and keep shaders simple.
Remember, smooth performance = happy players + fewer headaches (literally).
Step 6: Testing and Iterating
You made it! Well, kind of. Now, it’s time to test, test, and test some more.Playtesting in VR
Connect your headset, hit play, and dive into your world. Walk around, interact, and see how it feels. Something feels off? Tweak it.User Feedback
Even if it’s just a friend or your neighbor’s kid, let someone else try it. Watch them struggle or delight in ways you didn’t expect. That raw feedback is gold.VR is emotional and personal—it should feel intuitive, comfortable, and magical.
Step 7: Packaging and Publishing
Alright, you’ve polished your VR experience, now it’s time to share it with the world.Build Settings
Head to:> File → Build Settings
Select your target platform (e.g., Android for Oculus Quest), switch the platform, and tweak your settings (e.g., resolution, compression, etc.). Always test the final build on the actual hardware.
Store Submission
- For Oculus Store: Follow Oculus’s submission guidelines and performance benchmarks.- For Steam VR: Use Steamworks SDK and follow their publishing workflow.
- For SideQuest: Great for indie devs wanting to test ideas before going big.
Final Thoughts
Building VR experiences using Unity is like crafting your own universe—you’re not just showing players a world; you’re letting them live inside it. It’s challenging, sure. But the reward? Absolutely unforgettable.The beauty of Unity is that it lowers the barrier to entry. You don’t need to be a coding wizard or an artist extraordinaire. Just start small, tinker often, and let your imagination run wild. Who knows? Your little VR game might just be the next big hit.
So what are you waiting for? Strap on your headset, fire up Unity, and start building worlds that people can literally walk into.
all images in this post were generated using AI tools
Category:
Unity GamesAuthor:

Tayla Warner
Discussion
rate this article
2 comments
Dominic McClendon
Great article! It's inspiring to see how Unity can transform ideas into immersive VR experiences. Your insights will surely motivate many developers to explore this exciting medium further!
March 14, 2026 at 5:53 PM
Tayla Warner
Thank you for your kind words! I'm glad you found it inspiring. Excited to see more developers dive into VR with Unity!
Faelith Sullivan
Great article! Your insights on building VR experiences with Unity are incredibly helpful. It's inspiring to see how accessible VR development is becoming. I'm excited to try out these tips and explore the endless possibilities of creating immersive worlds. Keep up the fantastic work!
October 19, 2025 at 3:55 AM
Tayla Warner
Thank you for your kind words! I'm glad you found the insights helpful. Excited to see what you'll create in VR!